Get started with emulating Checkpoint in EVE-NG!
How to Add Checkpoint R81.20 to EVE-NG
Are you a Network or Security Engineer wanting to learn more about Checkpoint Firewalls from the comfort and safety of your own home?
As long as you have an install of EVE-NG running and a spare 8GB of RAM per instance you can have Checkpoint Security Gateways and Secure Management Servers up and running in less than 15 minutes from now.
And there's no need to download images from shady corners of the internet, we're going straight to CheckPoint for ours!
Prerequisites
- An install of EVE-NG up and running, either virtualised or bare metal
- SmartConsole R81.20 for testing (I keep mine in a windows 11 VM on my Proxmox)
- 8GB of RAM and ~2 CPU Cores For each instance.
Adding Checkpoint to EVE-NG
1. Grabbing The Gaia Image
As I mentioned in the introduction, we'll be going to the official CheckPoint website to download the iso for our environment.
- Head to the download page at https://support.checkpoint.com/results/download/124397
- Click the Download button and choose a location to save the iso file.
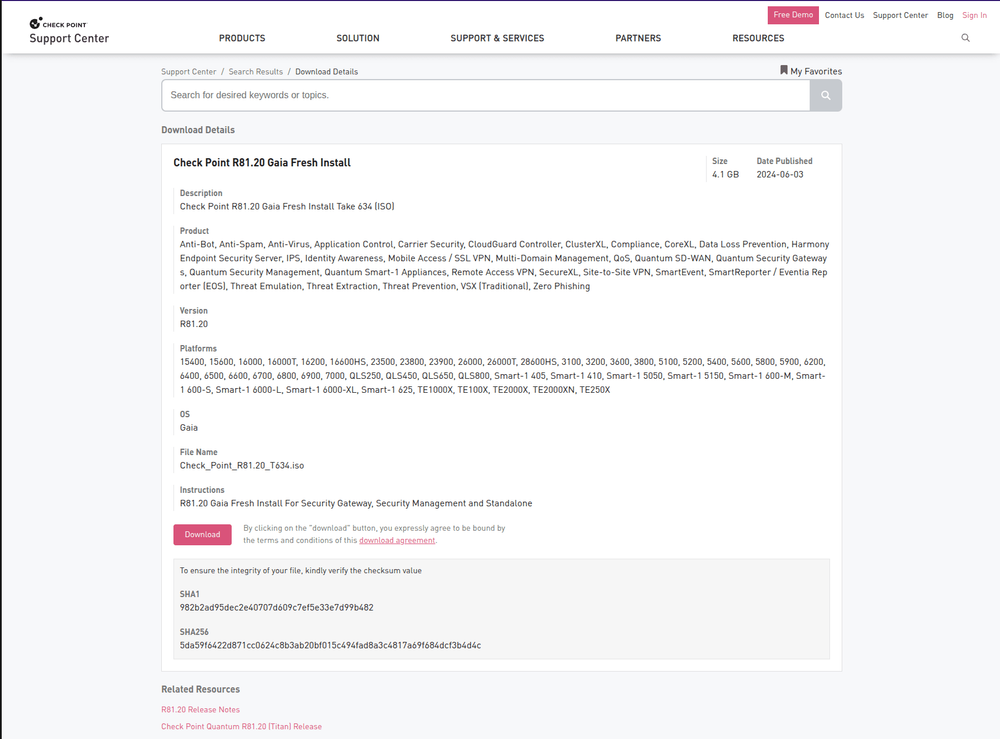
Whilst we wait for the download, make a note of the SHA1 checksum at the bottom of the page.
2. Uploading the ISO to EVE-NG
Now that you've got the Gaia ISO on your local machine, it's time to beam it up to your EVE-NG server.
- Connect to your EVE-NG server using FileZilla as the
rootuser. - Upload your ISO file to the
/root/directory (if you've logged in as root it should be the default) - Once the upload is complete, close FileZilla
3. Moving the ISO into EVE-NG
The CheckPoint ISO is now on your EVE-NG server, we just need to tell EVE-NG how to use it.
- Login to the EVE-NG server over SSH as the
rootuser. - Calculate a checksum of the ISO and check that it matches that shown on the CheckPoint website
shasum Check_Point_R81.20_T634.iso - Make a folder for CheckPoint and move into it:
mkdir /opt/unetlab/addons/qemu/cpsg-R81-20 && cd /opt/unetlab/addons/qemu/cpsg-R81-20 - Rename the iso so that EVE-NG recognises it as a CD:
mv /root/Check_Point_R81.20_T634.iso cdrom.iso - Create a new 80GB HDD Drive for CheckPoint:
We're making the drive 80GB as that is the size recommended by CheckPoint to avoid issues later on, you can try and run it with less space if needed, but your mileage may vary./opt/qemu/bin/qemu-img create -f qcow2 hda.qcow2 80G
Creating Checkpoint Instances In a Lab
EVE should have now detected your new Checkpoint image and you'll now be able to create a Checkpoint instance in your lab and run through the initial setup for it each time you create a new one
1. Create the Appliance in EVE-NG
- Create a lab in EVE-NG (or open an existing one) and create a new Checkpoint node
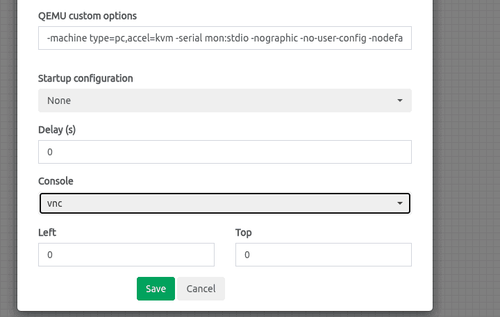
- Set the console to VNC (as the image does not have a console interface) and click "Save"
2. Gaia Installation Process
- Start the node by right clicking and selecting "Start"
- Double click the node to open a console either in a new tab or using your VNC client (depending on your selection at EVE-NG login)
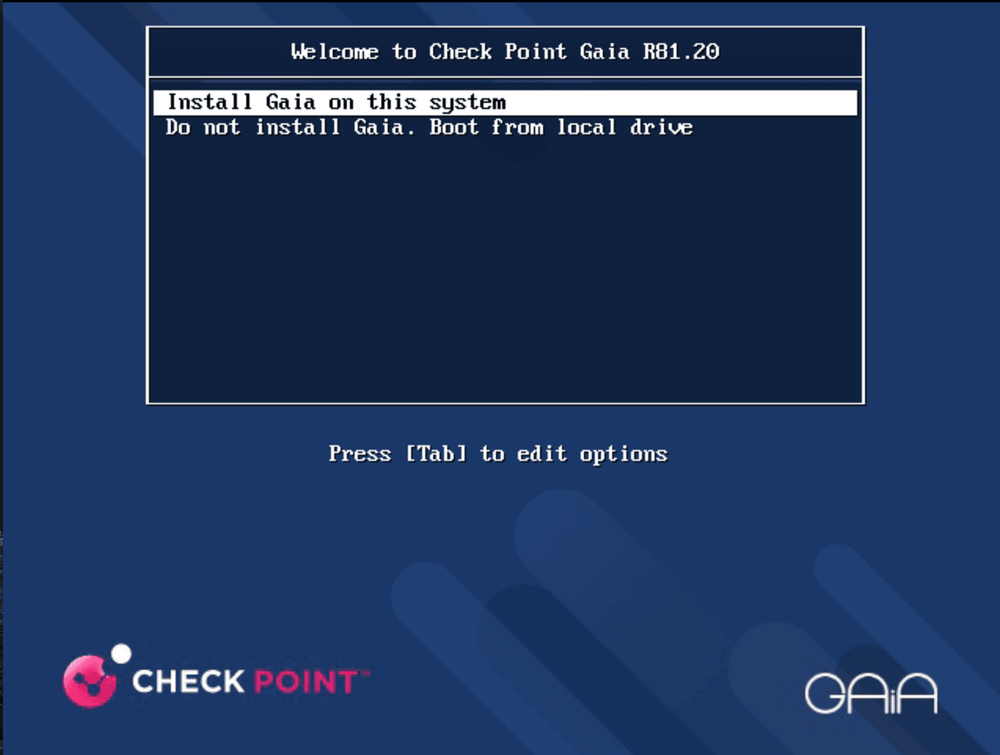
- Hit Enter on "Install Gaia on this system" - If when you open the console it says "Installation Failed" it just means your menu timed out, reboot the node and it'll install fine.
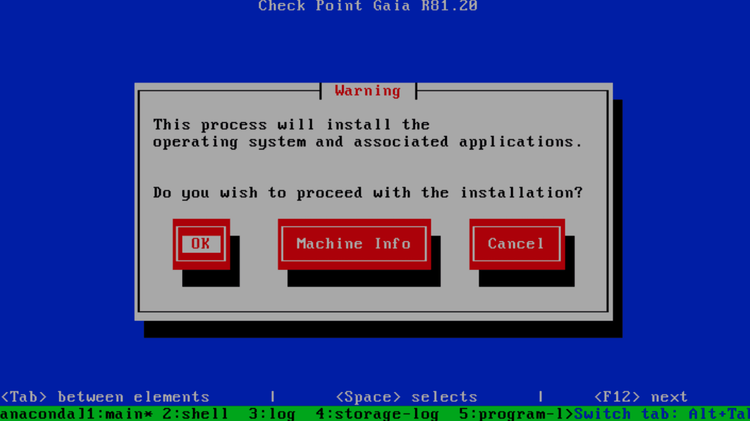
4. Hit "OK" When asked if you want to proceed with installation (Because of course we do)
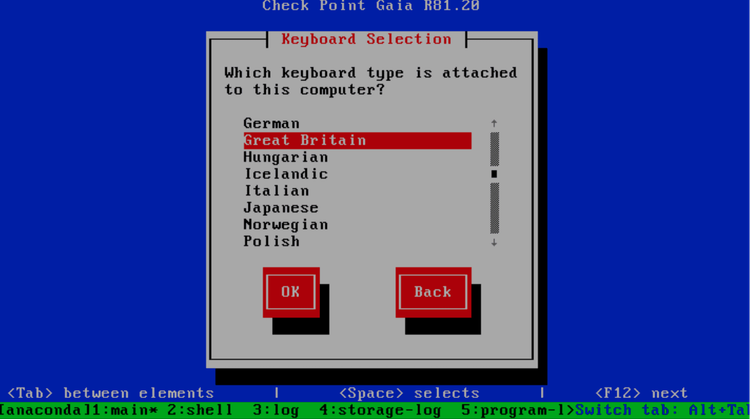
5. Select your keyboard from the list (UK is Great Britain in case you can't find it 😁 )
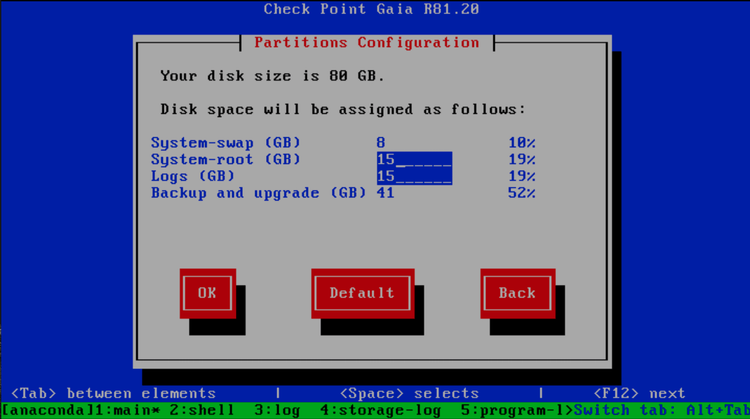
6. Leave partition sizes as default and Tab your way down to the OK button
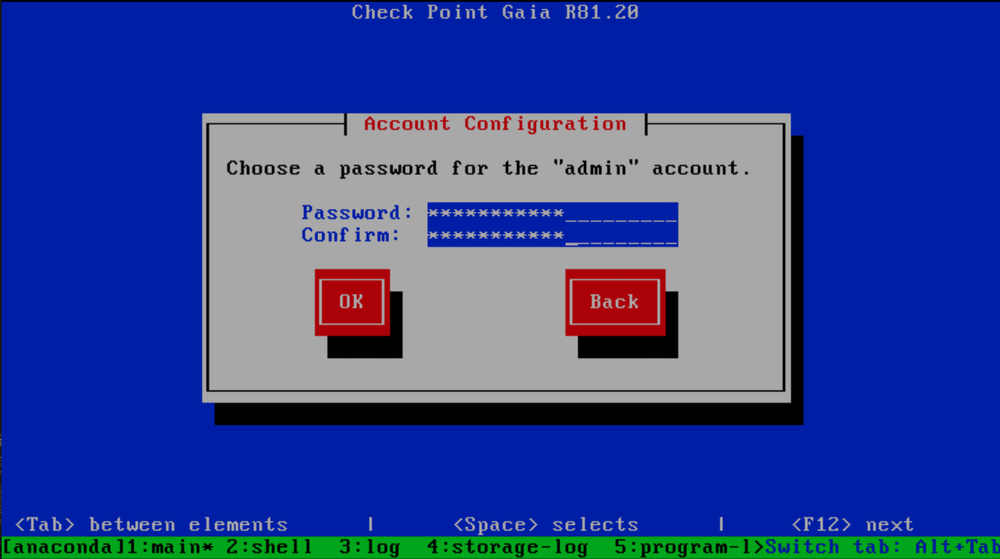
7. Set the password for the admin user, since this is a lab environment feel free to use Password123 (I know you want to 😉)
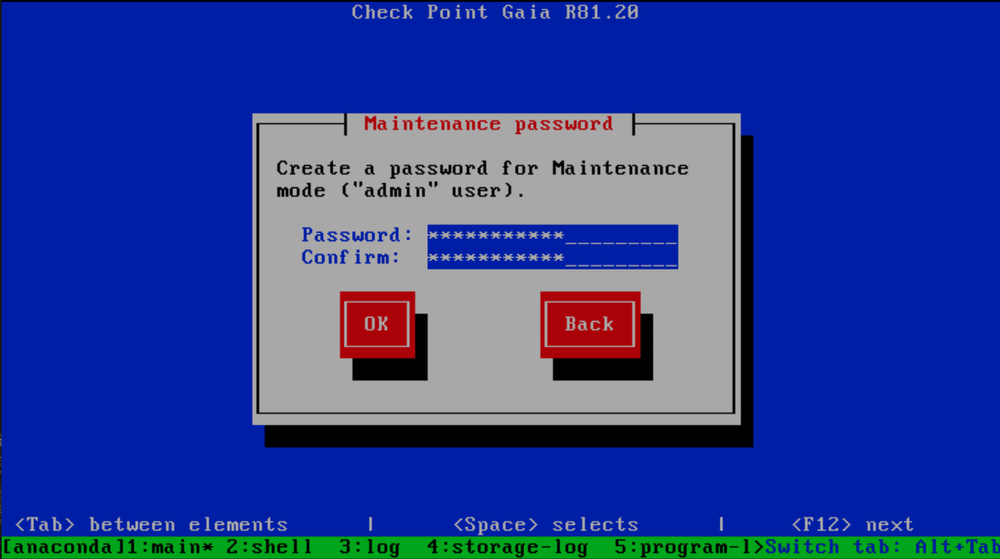
8. And the same again for the Maintenance password..
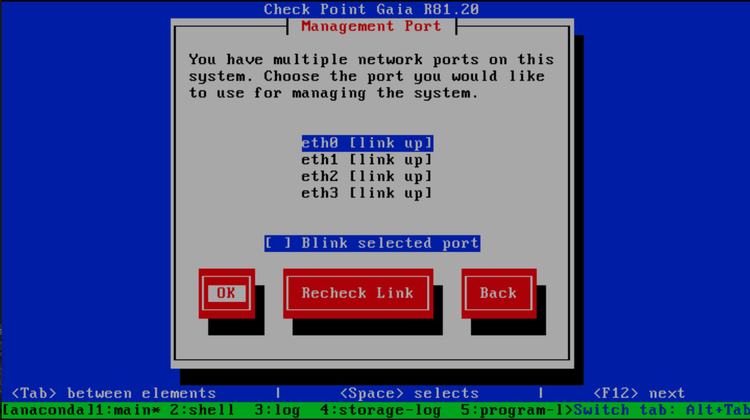
9. Select eth0 as our management port as that's what's connected to the management network.
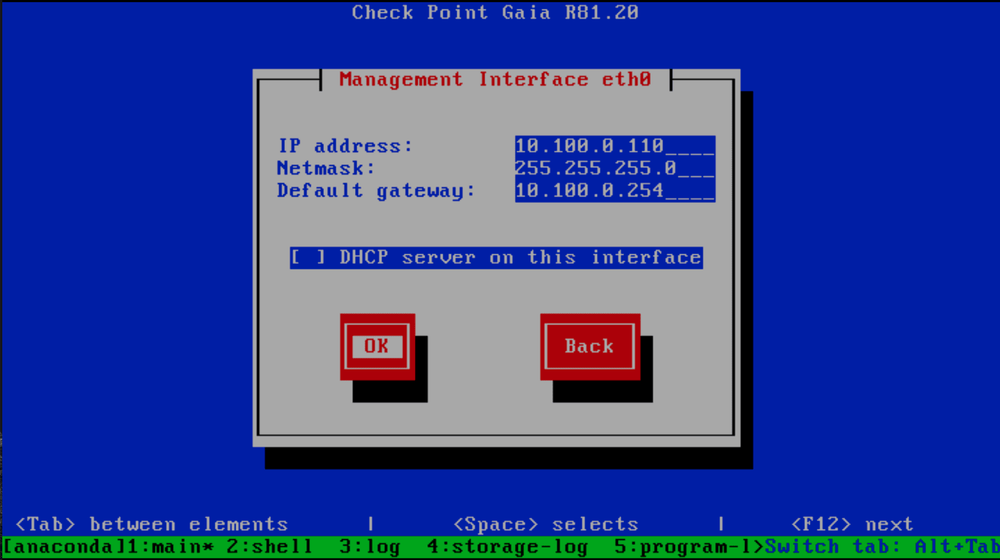
10. Set the Management IP of the CheckPoint, I'm using 10.100.0.110/24
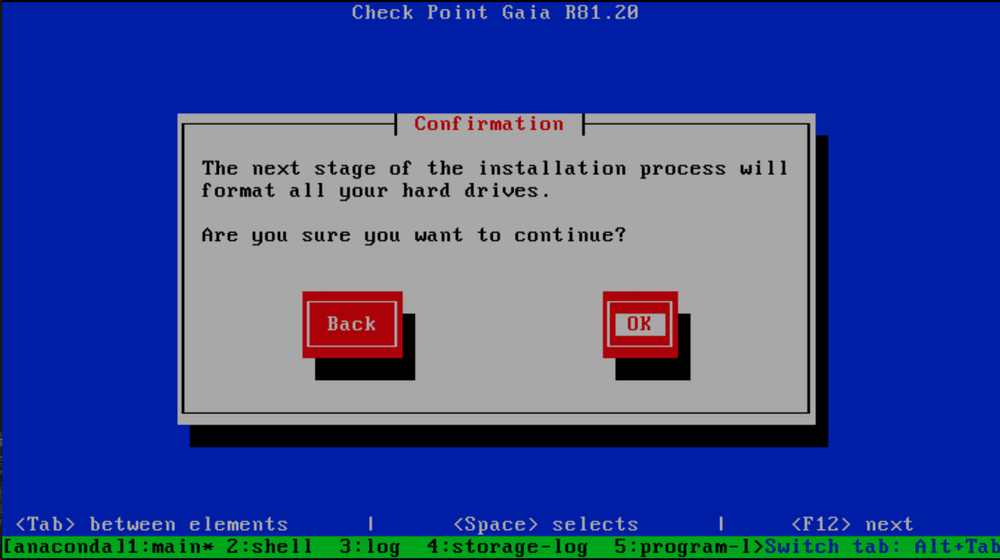
11. Confirm that you would like to format drives as part of installation
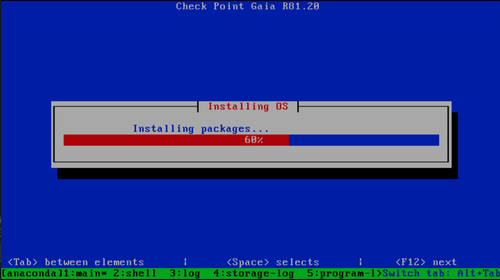
12. Wait for the installation process to complete (this should take around 5 minutes)
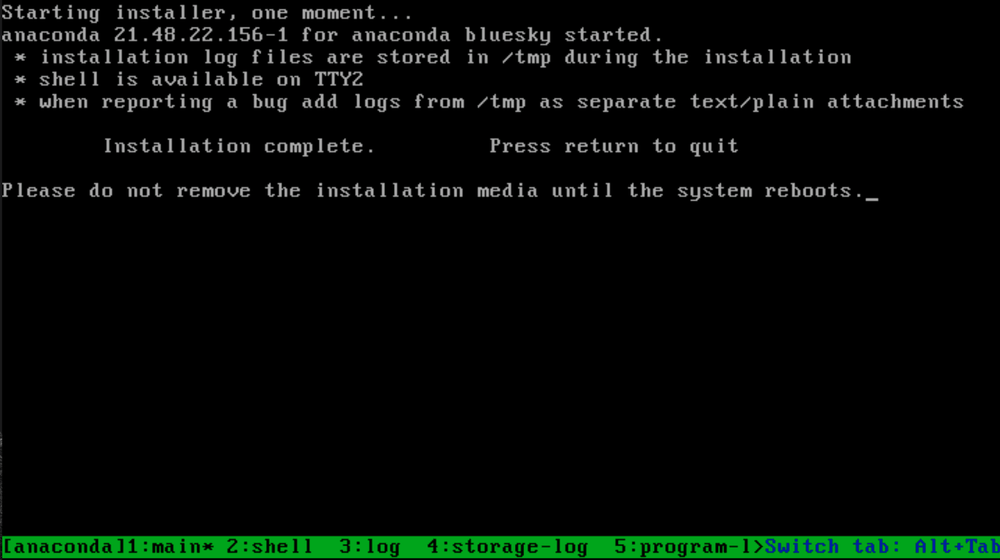
13. When prompted, hit return to reboot
3. Configuring Gaia
1. Once the login prompt appears in the console we can move to the web UI. Head to https:// in your browser (Proceed through the certificate error)
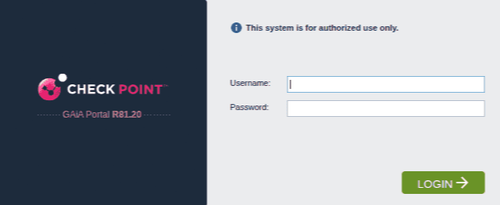
2. Login with the admin user and the password you set earlier on.
3. Press 'Next' to begin the setup
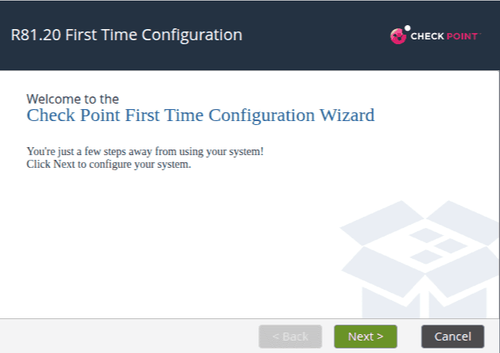
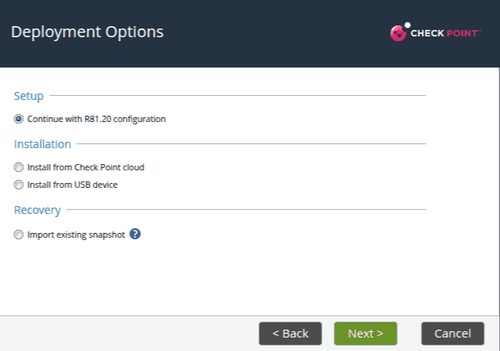
4. Hit 'Next' to continue with an initial config, unless you have a snapshot to recover from.
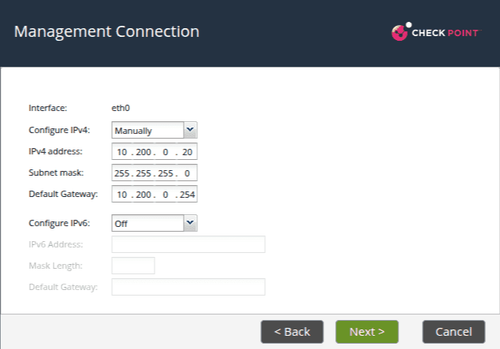
5. Leave the Management Connection settings as they are, hit 'Next'
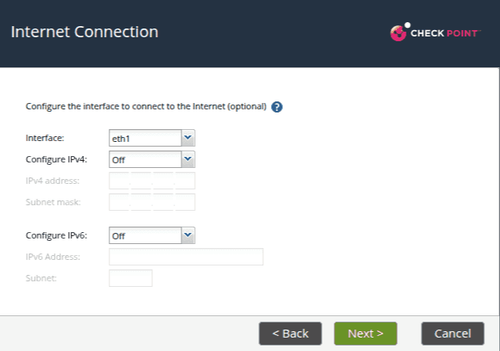
6. Set the Internet Connection interface as "eth1" with IPv4 Off for now.
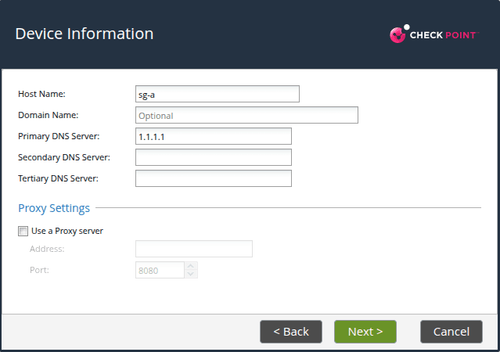
7. Configure the device's name, DNS servers, domain and Proxy if using
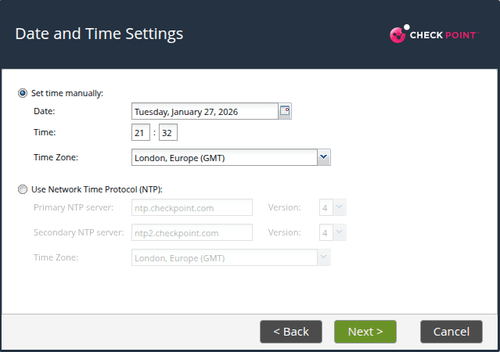
8. Set the time or point to Checkpoint's NTP servers if you have a working internet connection to the appliance
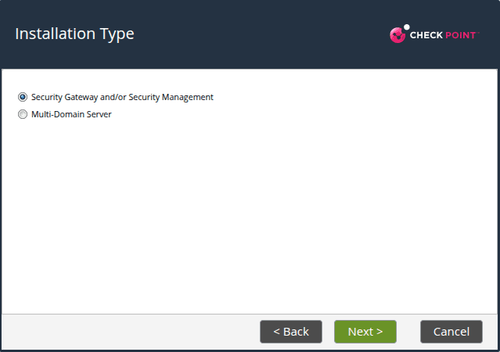
9. Set the Installation Type as desired - I'm choosing Security Gateway and/or Security Management
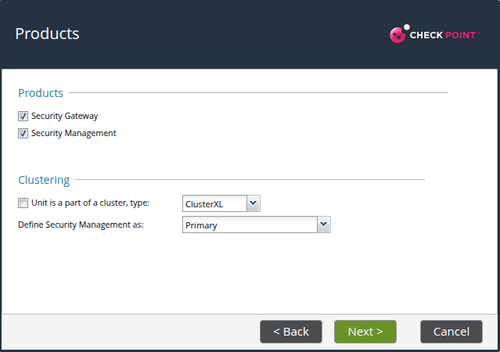
10. Select the Products to install, I'm choosing Gateway and SMS as I want this to act as a standalone gateway with no separate SMS
11. Click 'Next'
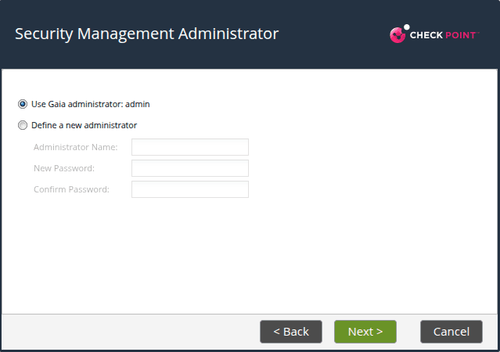
12. Click 'Next'
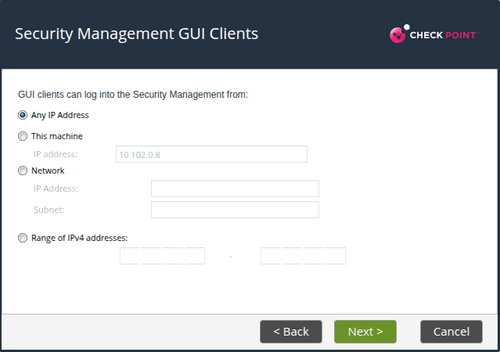
13. Click 'Finish'
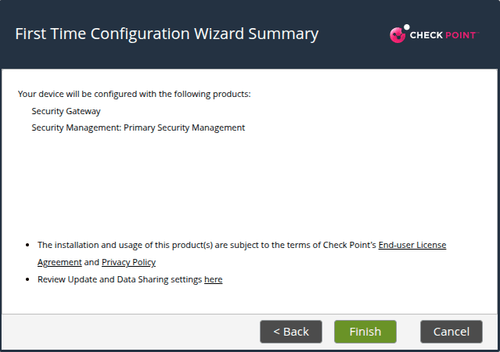
14. Wait for the Configuration to apply:
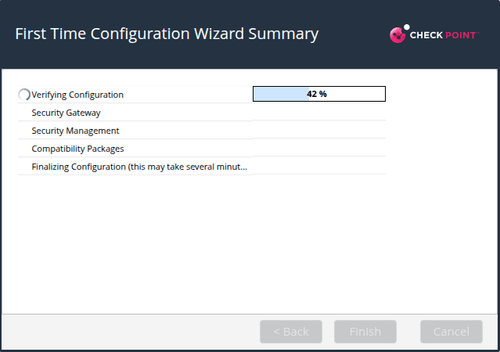
Conclusion
Congratulations! You should now have your very own instance of CheckPoint running in your EVE-NG lab.
As we're using evaluation license, your appliance's license will expire after 14 days. After this point you can create a new CheckPoint instance in EVE-NG and you'll get another 14 day license.
The official EVE-NG guide for checkpoint suggests taking a snapshot of the appliances disk image before the configuration wizard starts, I have chosen not to include this step as it means that every CheckPoint that you spawn will need to be console'd onto and have the management IP changed in Clish before the configuration wizard can be accessed. Whereas building a fresh image each time only adds ~1 minute onto the build and makes setup a lot simpler.
And remember, don't connect any of your Checkpoint's interfaces directly to the internet! Give them an internal IP address within your home network so they're hidden behind NAT. However, if you want to experiment with NAT in checkpoint then connect the "internet" interface to a local network and treat that network as the "internet".
But, I'm not your dad, I can't tell you what to do.